Hi everyone, today I want to share my process on making my latest project "Dr. Rhonda Patrick Here!", one of my favorite project I have ever done. This project took around 2 months, and I learnt so much during that time.
Final Render: https://www.artstation.com/artwork/18EQOK
Technical Breakdown: -coming soon-

Big thanks to Li Jinlong (https://www.artstation.com/lijinlong1989) and Levinna (https://www.artstation.com/angelitalevinna), for helping me with the likeness of Rhonda, and Hugo (https://www.artstation.com/hthung_mkiii) for teaching me how to do face-oriented vertex normal baking and more baking RnD.
Special thanks for Michael Elton (https://vimeo.com/eltonwidjaja) who helped me with the Houdini sides of things in this project.
Who Is Rhonda Patrick?
One of my favorite things to watch is wellness/health/longevity related videos. I also love listening to podcast when I'm working, and health related podcast was at the top of my list.
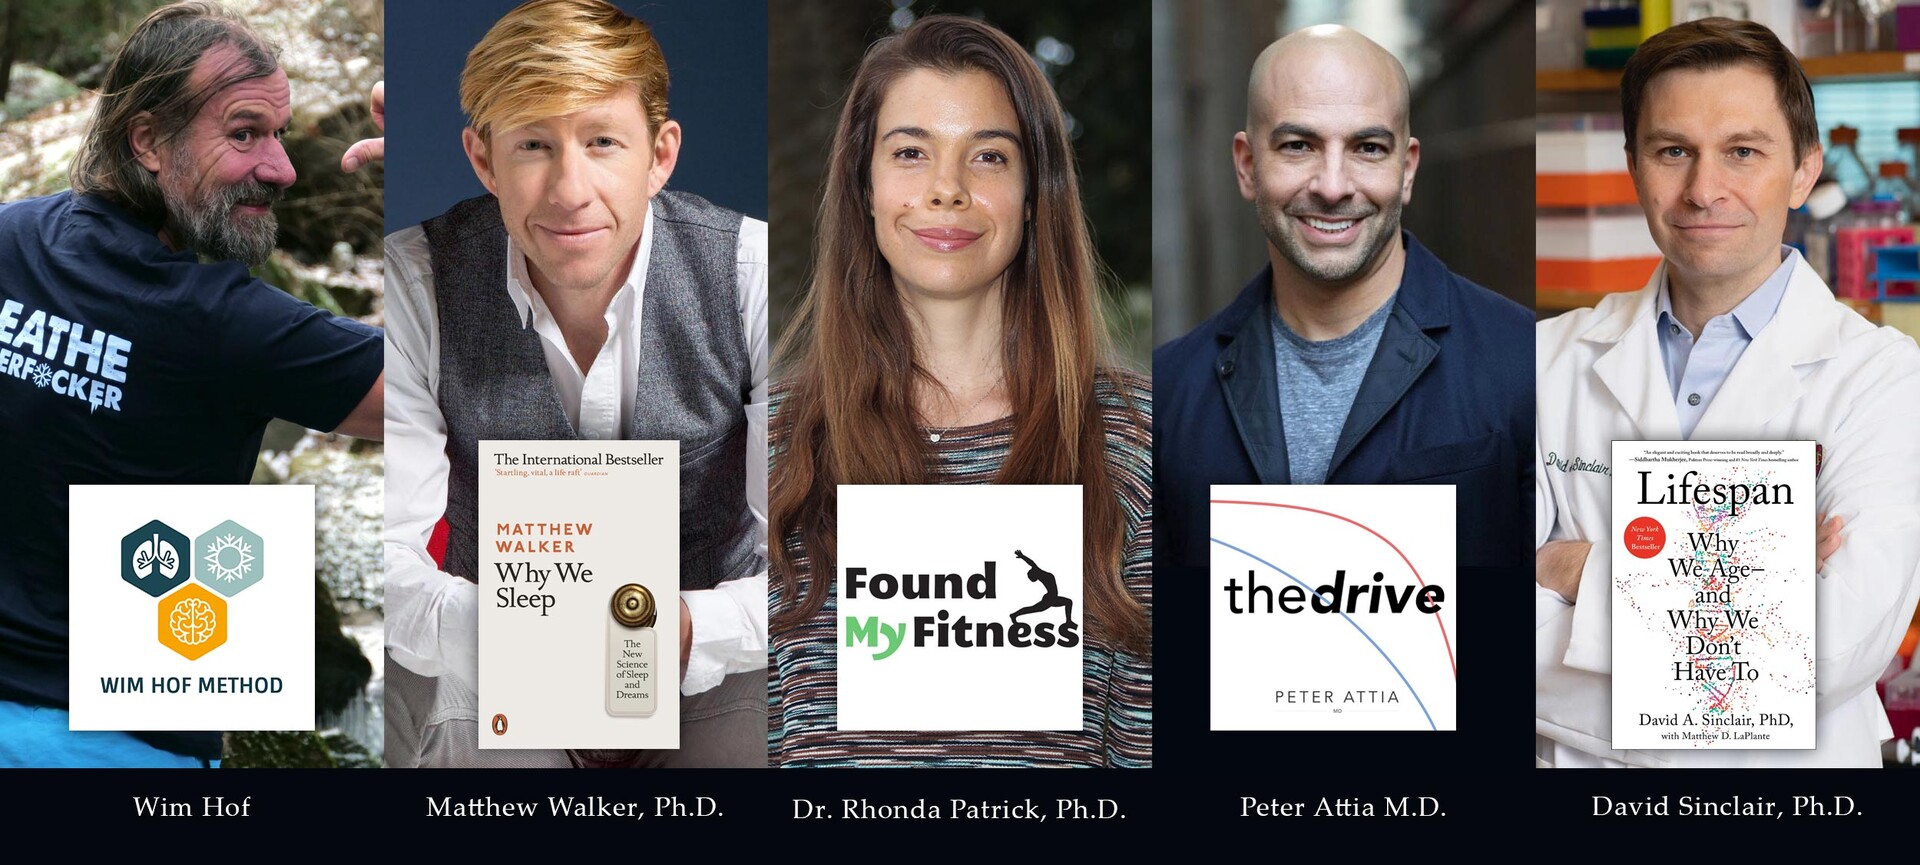
Dr. Rhonda Patrick is a Ph.D in biomedical science and expert on nutritional health. I found out about Rhonda Patrick from Joe Rogan Experience (JRE) podcast when Levinna told me about her. After I listened to one of her podcast I simply couldn't stop at one. She is immensely fun to listen to, and more importantly she is able to explain seemingly complicated science stuff in an easy to understand manner. She also has a website/podcast: Found My Fitness (FMF) (https://www.youtube.com/user/FoundMyFitness and https://www.foundmyfitness.com/)
In fact the phrase "Dr. Rhonda Patrick here!" is a reference to her opening phrase in every FMF video!

I get to grow my own broccoli sprouts because of her
Rhonda Patrick is pretty well known for loving broccoli sprouts, for it's high content in sulforaphane. I am not going to explain why it is amazing for your body, just watch this video made by Rhonda itself: https://www.youtube.com/watch?v=zz4YVJ4aRfg&ab_channel=FoundMyFitness
One morning I just came up with an idea to make a stylized version of Rhonda Patrick. It is going to be my very first stylized likeness project. From the start I wanted to integrate her fun personality, her science, and her passion for broccoli sprouts, all into a 3d character.
Base Body
As this is a likeness project I have to really pay close attention to Rhonda's face while sculpting. The body, however, is something that I took creative liberty in. I am going for something stylized with realistic texture and rendering.

Very early test render in Arnold (later switched to blender cycles)
As you can see I am struggling quite hard on getting the face right. It looks very different when I finally put it in Arnold for a test render compared to ZBrush viewport render. I am trying to balance a stylized look while maintaining likeness. Rhonda has a very pronounced jaw, making her smile something very appealing to see. I consider doing something hyper-stylized like a caricature would, but I decided to make it a bit more grounded to reality.

Eve Underground Project (WIP)
The base body was re-used from one of my postponed personal project. This base body is from a character I am trying to create based on Eve's music video (https://www.youtube.com/watch?v=nBteO-bU78Y&vl=en&ab_channel=Eve). I replace the head, re-UV, and re-bake the base body into one single mesh. I start this project even before "The Death of Marat", but I decided to postpone it for various reasons.
Cloth Creation

Rhonda Patrick in a lab coat
I found this picture of Rhonda in a lab coat, and I immediately know that this is going to be my cloth starting point. I just need to apply a more smart casual feel on it.
I used Marvelous Designer for basic cloth making and ZBrush for the detailing. Specifically for this project, I didn't really adjust nor add additional folds information in ZBrush. All the folds in the cloth came purely from Marvelous Designer. Additionally, I use ClayPolish to make the folds slightly stylized.
Most of the seams was made by masking the edge, and inflating the mesh slightly. I didn't do much manual sculpting at all for this project. I can get away with this because I can exaggerate the seams, as it is a stylized character.

Retopology was done in Maya
In this project I did some practice with my retopology, especially with clothing. I pay extra attention on keeping the topology matching to the base body topology, keeping the silhouette of the cloth, adding extra edgeloop where it is necessary, and capping the model in some parts. A lot of this topology tricks I learnt at work.
Houdini Broccoli Sprouts

Houdini Viewport of Rhonda's Broccoli Sprouts
Broccoli sprouts is the hero props for my character, and I think it is a good subject matter for me to try and learn Houdini. Houdini is probably the strongest 3d software in the world right now. Learning it will enhance my workflow in future project. Making broccoli sprouts seems like a perfect entry level Houdini project.
Needless to say, I am very inexperienced with the software. Shoutout to Michael Elton (https://vimeo.com/eltonwidjaja) again for personally teaching me the initial framework needed to make this asset.

Technical Breakdown Coming Soon!
Nevertheless, I still want to share a few things I learn from making this object in Houdini. More details on this step will be explained in my Technical Breakdown of "Dr. Rhonda Patrick Here!", coming soon in future Artstation post. The format is going to be similar to Project: Xu Breakdown (https://www.artstation.com/artwork/2xNNYB). I will try and make it simple and easy to digest.
Additional Props Making
At first I didn't plan on making any other props for this character. However after I finished texturing the cloth, the character feels really dead. It doesn't have personality ;)

Additional Props (EEVEE)
So I decided to integrate some accessory to the character. The Apple Watch, beads necklace, and ring is from Rhonda Patrick's actual accessory. The pen and the name tag is something I add from my own reasoned choice.
The biggest impact I got from all these additional props is the asymmetry it creates. I purposefully make some of the props very detailed. The goal is to create a detail-rest-detail-rest rhythm in the character. The pants and the lab coat doesn't have a lot of detail anyway so it is pretty much a blank canvas waiting for stuff to be put on top.

Rhonda's Handbag (EEVEE)
The handbag is also something that I have a lot of fun with. I spend quite a lot of time trying different proportion, location, style, and pose. In the end I put priority on these few things:
1. I want the bag to have a straight leading line to the face.
2. Golden metallic material for capturing the light.
3. Something to break the silhouette of the bag.
In the end I am very happy with how the props ended up affecting the whole character. The more you go up to the face, the more props and detail the character has. Hopefully this helps to direct the viewer's attention to Rhonda's awesome smile.

Rhonda's Awesome Smile
Texturing Skin
I tried a new workflow for texturing the skin. Mainly, I simple followed these 2 guides:
1) [Guide] Detailing skin with Texturing.xyz multi-channel faces, Blender and Zbrush
https://www.artstation.com/artwork/rA9A1a

Projection Mesh in Maya and Projection Texture Result
Rather then projecting 2d texture on top of a 3d model, this workflow did the reverse. You unwrap the 3d model into 2d information (UV), and then you wrap around the UV around the texturing.xyz multi-channel face texture. The guide use blender, but I use maya.
For the projection, I just use xnormal so I can project all the maps easily.
2) Saurabh Jethani / Creating realistic skin in UE4
https://texturing.xyz/pages/saurabh-jethani-creating-realistic-skin-in-ue4
This entire guide is a blessing, please do read the entire thing if you are interested in realistic skin rendering, realtime or pre-rendered. I tried to recreate his setup in UE4 in blender shading editor.

Substance Painter Skin Channels
I made the extra maps for the skin in substance painter with custom user channels. On the bottom right, micro skin tiling maps from texturing.xyz which I used in the shader level.
Texturing Props
Texturing the props was very straightforward. One thing I try to do differently is on the baking side of things. Shoutout to Hugo (https://www.artstation.com/hthung_mkiii) for teaching me "face oriented vertex normal" method of baking. It is something that I never did as a character modeler.

Rhonda's Name Tag vertex normal + baking result
The main thing is that you want to orient your vertex normal based on the face normals. This works best if you have a bevel on your low poly object. This results in a very clean normal, which you can see from the completely flat normal map color in flat area. If you just soft edge the lowpoly, you will have dirty gradient on your normal map that doesn't provide additional details.
While texturing the props, I put extra attention to make sure there are variation in roughness map, and gradients in the color map. Just using these 2 simple things will usually get you 80% of the texturing job done.
Grooming

Rhonda with 2 different hairstyle
I wanted to make 2 hairstyles: a more professional hairstyle, and a more casual one. In the end, I settled on a long hair and a ponytail hairstyle based on the 2 reference picture of Rhonda above. The hair really helps to convey the personality of the character. I particularly love the rim light on the face on the ponytail hair render.
The last time I try to make eyebrows and eyelashes was on my Andy Serkis likeness project when I was still a student. So this is my first attempt at making eyebrow and eyelashes in XGen IGS.

Mesh Eyelash vs Groomed Eyelash
However, during this project I decided to just use a mesh for the eyelashes. I did make a groomed eyelash but the result was very terrifying.

Mesh Eyebrow vs Groomed Eyebrow
The groomed eyebrow however seems pretty fitting. The only thing I did different was I make it very solid, so it doesn't look out of place like the groomed eyelash.
XGen IGS Tips
1. When placing guide, sometimes suddenly you cannot seem to place any guides. If this happen, click the sculpt layer inside the guide node. However, placing the guide by itself is not recorded in any sculpt layer. If you disable the sculpt layer, the guide will still be there.
LookDev and Rendering in Blender!
The biggest change for my workflow in this project is probably the shift to blender for LookDev and rendering. I use blender mainly for creating curve based object (necklace), look development, shading, and rendering. There are a lot of improvement in "quality of life" aspect of working in blender.
Some of my favorite features while LookDev-ing in Blender:
1. Eevee real-time renderer allow you to have 90% of the render result in the viewport directly. This lets me adjust things like lights, camera, and shader with less back and forth (like in Arnold).
2. Node wrangler is by far my favorite add-on in blender so far. The ability to quickly preview any node in the shading editor is something that is crazy beneficial. In Arnold you can also do this, but sometimes some nodes is not supported, especially those legacy maya math node, which I use every time.
Some things I miss while LookDev-ing in Blender:
1. There is no proper snapshot feature in blender. In Arnold, this feature allows you to compile and preview all of your previous render, quickly and with ease. In blender I have to manually save it out.
2. There is no barn door or spread option on the are light in blender.
Conclusion
Health, just like Art, is a long-term commitment. There is no one pill that is going to cure your cancer/diabetes/metabolic syndrome, it's all about daily habit that you built on top of every single day. Sure there are days where you just eat buffet like a pig and completely ruin your health plan in the short term, but as long as you know that life is a marathon and not a 100m sprint run, you will be fine even with worldly consumption once in a while.
This project is a truly fun one. I leant so many new things both in the art/technical sense and in the health/longevity aspects. Hopefully you guys get a thing or two from this blog post :) Thank you so much for reading.